
10 Steps To Midjourney Mastery: How To Become A Prompting Power User
With the release of its latest upgrade, v5, Midjourney is now widely seen as the leading text-to-image AI service, capable of amazing, photorealistic images and ludicrous - but dazzling - psychedelic flights of fancy. It’s also a daunting service which can put many potential users off before they’ve even started, thanks to its many peculiarities. We’re here to guide you through those first confusing steps, and then arm you with the tips you need to get the absolute best out of this incredible tool.
UPDATE: we’ve added an eleventh tip to cover the remarkable new tricks released by Midjourney in August 2023; scroll down for the new stuff!
1: HARMONY FROM DISCORD
To use Midjourney, you will need to install the means of communicating with it. While most other AIs have websites you can use, Midjourney is exclusively available over the chat and messaging service Discord. You can choose to use Discord in a web browser, install the software for your computer, or download the app on iOS or Android.
2: FORWARDSLASH IMAGINE ALL THE PEOPLE
Once you have your Discord account set up, you can join the Midjourney channel directly by following this link. Once you’re in, you should have a large list of “rooms” on the left of the app, organized into categories such as “Info”, “Support”, and “Chat”. You should also see at least one “Newcomer Rooms” category, containing rooms called “Newbies-[xx]”, where the [xx] is a number. In these newbie rooms, you will find the creations of other fresh-faced Midjourneyers. It’s time to join the fray and create your first image!
In the input field at the bottom of the window, enter /imagine, followed by your prompt. It can be anything you like, but if you’re stuck for ideas, take some inspiration from the other users in the channel. Hit enter, and Midjourney will queue your request; typically, it will take anywhere between a couple of seconds to a couple of minutes to begin working on your image. It’s worth mentioning at this point that unless you are a subscriber, you are limited in the amount of times you can use Midjourney. Typically, your trial period is good for 25 free images, and you can check your remaining usage by typing /info in the chat window.
3: WE’RE VROLLING VROLLING VROLLING
Once the AI has finished cooking your request, it will appear in the channel. Midjourney creates a tiled image containing four variants for each initial prompt, and you now have the option to either upscale one of those four images to a higher resolution (using the U1-U4 buttons), or reroll the prompt using the V1-V4 buttons. Each button corresponds to one of the four images, and causes Midjourney to generate four new variants based on the image you’ve selected. This is known in the community as “vrolling”, and it’s a crucial method to refine the AI’s outputs. You may well be very happy with the first result Midjourney offers, but vrolling provides vital feedback to the AI and enables it to fine tune results.
It will also cost you one of your precious free images, so before you go off on a vrolling spree, let’s look at ways you can improve your initial prompts.
4: RECEIVE PROMPT ASSISTANCE
There are many services out there that seek to help you write better prompts, but our favorite is Prompter. The interface is a little unusual - it’s a Google Spreadsheet, and to use it you’ll need to have a Google Drive account, and make a copy of the original spreadsheet - but it’s a comprehensive tool and one that is swiftly updated whenever a new Midjourney version drops.
Prompter effectively gives you the keys to the Midjourney kingdom, putting all of the many options that you can tweak in a prompt within easy reach. We’ll go into more detail about some of these settings in later tips, but Prompter’s general use is straightforward: pop your “Main idea” in the field at the top, add any modifiers you fancy from the many dropdown menus, and tweak the parameters; the “Stylize” and “Chaos” settings are particularly important, as they allow you to control how crazy Midjourney gets when interpreting your prompt. When you’re done, you can copy the fully formed prompt from the field at the bottom of the spreadsheet, and paste it into Midjourney. Congratulations! You’re now an AI power user. But what to do with all this new power?
5: FLAGGING IS GOOD
You’ll see that Prompter’s finished prompt ends with a series of coded phrases; double hyphens followed by settings information, such as “–stylize 100” or ”--v 5”. These are parameters - often referred to as flags - and they are the best way to tweak Midjourney’s settings. A couple that you should know about are –seed, which allows you to specify a number to act as the seed for the AI’s algorithm, and –ar, which allows you to set the aspect ratio of the output. This last one is a particularly powerful tool, because the output Midjourney creates depends heavily on the shape of the image. If you ask for an image in a 16:9 aspect ratio - the standard “widescreen” format used by most modern computer monitors - Midjourney will seek to create an image that fills that rectangular space, and may invent background details to help flesh out corners and blank space. If you enter the exact same prompt with a different aspect ratio, you are likely to get wildly different results.
6: BLEND IT LIKE BECKHAM
Midjourney also accepts image URLs as part of a prompt, and will try to incorporate images you supply in this way in its outputs. This is a powerful ability that gives you an extra degree of control beyond mere words, and can really help to guide Midjourney towards the results you want.
There’s also a less well known feature in Midjourney called “Blend mode”, which only accepts images as prompts. If you enter /blend instead of /imagine [prompt], you will be invited to upload two images, which Midjourney will then try to blend together. This can create a lot of fun effects, and can provide better results when you’re keen to force Midjourney to work from a specific image, such as a selfie.
7. 😘 🌈👍 ( 💩 ⛔)
Emoji are powerful prompting tools. Midjourney reacts to them just as it would any other word, but the succinct combination of meaning and visual information seems to capture the AI’s imagination more than mere characters. A carefully deployed 🌈 is guaranteed to push any prompt into a technicolor outburst! It should be noted, however, that the word “poop” is banned on Midjourney, and so is the 💩emoji. 😥
8. PROMPT GRAMMAR
To get the best results out of Midjourney, it helps to know the best way to structure your prompts. This changes slightly from update to update, but the current v5 version of Midjourney favors the structure outlined in the image below.
You’ll find many more templates for previous versions and much other great advice at Clarinet’s Prompt Troubleshooting Guide.
When tweaking your prompts, one essential thing to remember is that Midjourney adds more weight to elements that come earlier in the prompt, so if you want more prominence for a particular feature, bump it up the running order!
It’s also useful to know that punctuation is optional, but helpful. Midjourney benefits from properly punctuated prompts! Commas can help keep clauses separate and reduce confusion, and periods can be used to add further clarity.
9: THE SCENIC ROUTE
If you really need to stress the importance of some prompt elements over others, you can use “weights” to control how much emphasis Midjourney places on an element relative to its rivals. You add a weight with a double colon followed by the weight number - e.g. ::2 would create a weighting of 2, making the weighted element twice as important as others.
This can be very powerful. One great application of weights is to define a “stage” for your prompt: specify your location first, and then follow that with details of the image’s foreground. This technique can also be used with more abstract concepts to create “themes”, allowing you to specify a strong preference for intangible concepts. Perhaps you’d like your image to be more whimsical, or thoughtful, or heroic? Specify that at the start of your prompt with a weight!
10: CONSTRUCTIVE NEGATIVITY
Finally, don’t ignore the power of saying “no”! There are two ways of doing this, either with a flag (e.g. “--no trees” or “--no hands”), or with a negative weighting. Both methods can have a huge impact on a prompt’s output, and they’re vital tools in a power user’s toolbox. One especially useful application is “--no text”, which helps to control Midjourney’s habit of covering its images with gibberish logos and labels.
11. THE MAGIC OF INPAINTING
A bonus tip for you; since this article was originally published, Midjourney has added an incredible new feature. They call it Vary (Region), but everybody else calls it “inpainting”; simply put, it allows you to select a region of your generated image, and then provide a new prompt for Midjourney just for that region. This allows you not just to make edits, but also to retouch those awkward hallucinatory moments where Midjourney’s grasp of human anatomy slips.
Using it requires a little setup; to begin with, you’ll want to ensure you have “remix mode” enabled, which you can check by typing “/settings” in the Discord chat window. Then, all you need is an upscaled Midjourney creation (i.e. one of the full size images created after you click one of the U1-U4 buttons). Among the options below the image you will see Vary (Region) - not to be confused with Vary (Strong) and Vary (Subtle), which merely reroll the entire image - and if you click this button you will be taken to a basic image editor screen within Discord.
This screen allows you to select the region of the image you’d like to reroll using a rectangle select tool, or a lasso tool. The former behaves exactly as you’d expect - drag a rectangle on the image to select that region - but the lasso tool is, frankly, weird; if you’re familiar with similar tools on other image editing software then the bad news is this one behaves completely differently. Despite this, it’s fairly intuitive, and with a little practise you should be able to get the hang of drawing your selections.
You’ll also find an undo button (very useful!) and, if you have remix mode enabled, a text field containing your original prompt. Once you’ve selected the region you want to edit, enter your new prompt here and submit. Congratulations! You’re inpainting!
One last, extremely useful tip; if you’re trying to edit a small region of the image, Midjourney may complain and ask you to enlarge the selection. You can satisfy this request by selecting a larger, second region on the screen; something with a uniform color, such as the floor, or the sky, or a wall. Midhjourney will now be satisfied, but will still attempt to respond to the prompt in a contextually appropriate way, and the vast majority of the time that means it will leave the second region untouched.

"The social experience where you activate your gaming skills as you train like a spy."
- TimeOut
Pulse-racing challenges - crafted with experts from CIA and Special Ops to test your teamwork, agility, collaboration and communication.
SPYSCAPE+

Join now to get True Spies episodes early and ad-free every week, plus subscriber-only Debriefs and Q&As to bring you closer to your favorite spies and stories from the show. You’ll also get our exclusive series The Razumov Files and The Great James Bond Car Robbery!

Gadgets & Gifts
Explore a world of secrets together. Navigate through interactive exhibits and missions to discover your spy roles.
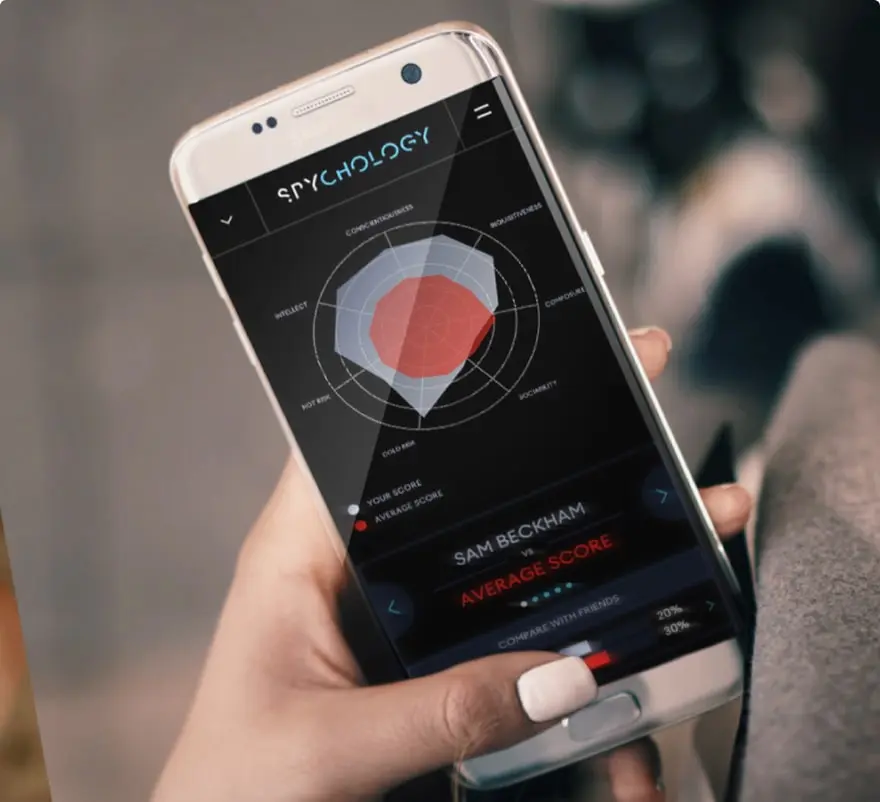
Your Q Type
You will be assigned one of ten Q Types - developed with top spy trainers and psychologists to reveal your hidden potential. Not a personality label - a behavioral map of how you think, lead, and perform when it matters.
The Brief
Sign up to receive our weekly newsletter and special offers.
Stay Connected
Follow us for the latest
TIKTOK
INSTAGRAM
X
FACEBOOK
YOUTUBE